Red Velvet Cheesecake Brownies Recipe
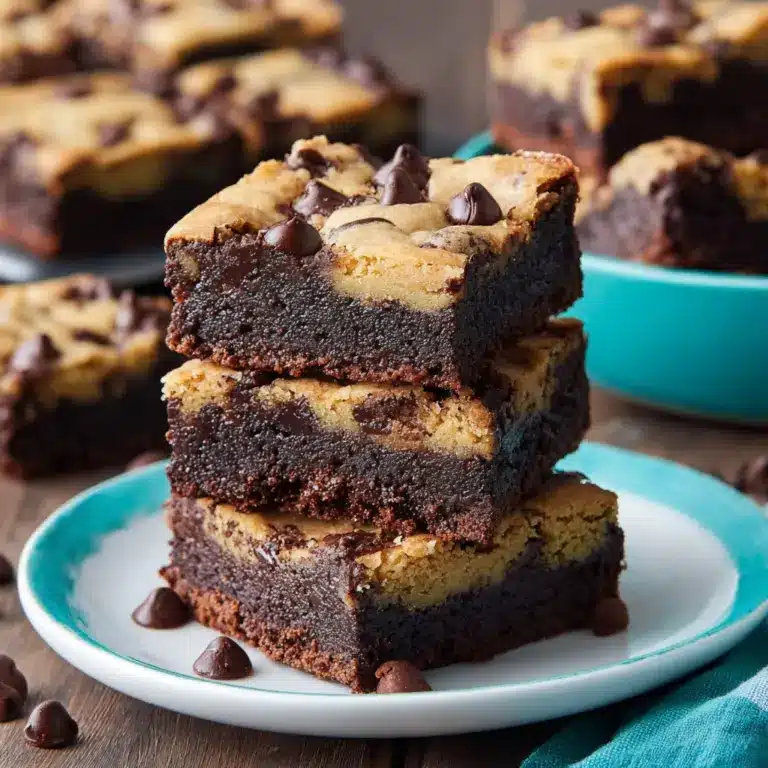
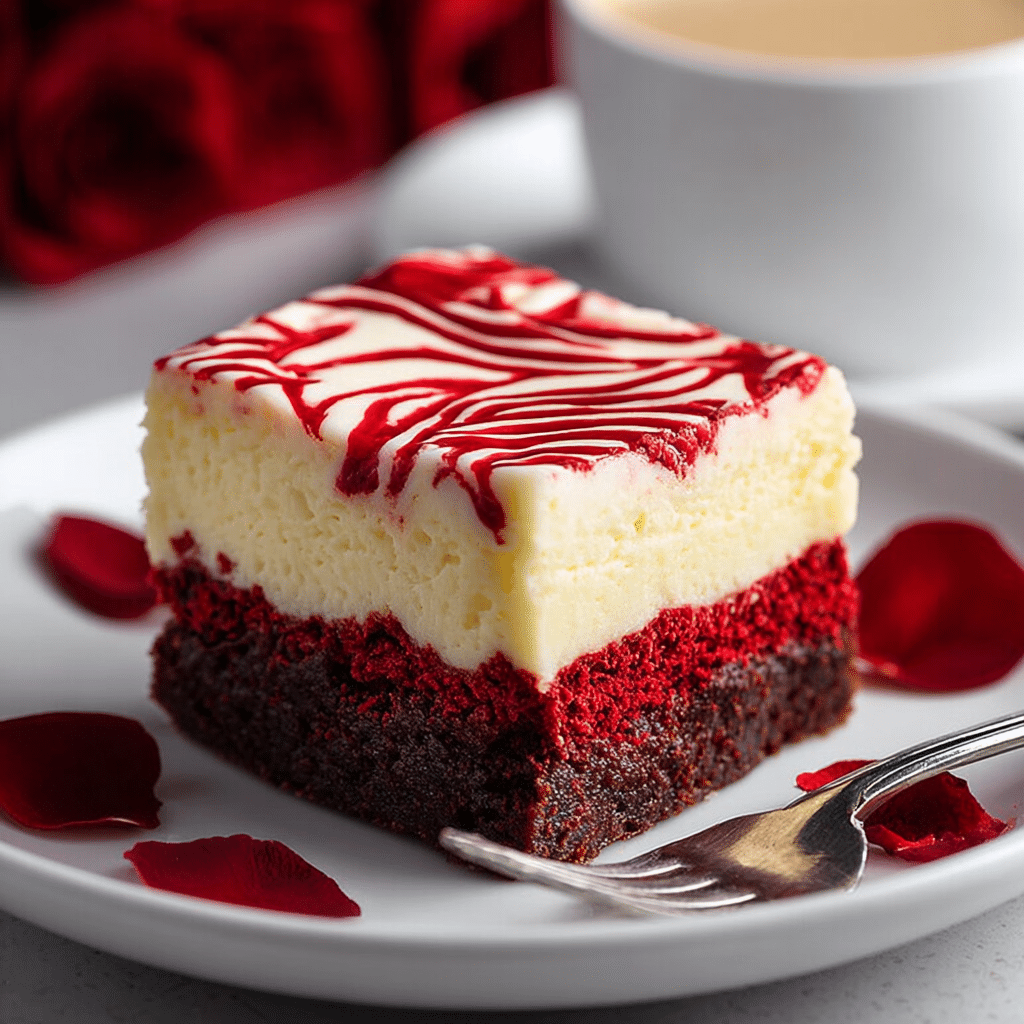
If you have a craving for something decadently rich yet irresistibly colorful, then this Red Velvet Cheesecake Brownies Recipe is your new best friend in the kitchen. Imagine the moist, fudgy texture of classic red velvet brownies perfectly complemented by a luscious, creamy cheesecake swirl that melts on your tongue. It’s a stunning dessert that combines the best of both worlds—chocolate and cheesecake—into one crowd-pleasing treat that’s as beautiful as it is delicious. Whether you’re baking for a special occasion or simply indulging a sweet tooth, these brownies promise to deliver smiles and satisfied taste buds every single time.
Ingredients You’ll Need
Ingredients You’ll Need
This recipe is wonderfully straightforward, relying on a few wholesome ingredients that each play a vital role in delivering that perfect balance of flavor, texture, and vibrant color. These basics come together so simply, you’ll appreciate how every element contributes, from the creamy richness of the cream cheese to the deep cocoa notes in the red velvet base.
- Unsalted butter: Melted for a smooth, tender brownie texture without overpowering flavor.
- Granulated sugar: Provides the ideal sweetness that caramelizes slightly during baking.
- Large eggs: Essential for structure and moisture to keep brownies perfectly chewy.
- Vanilla extract: Enhances all the flavors with a warm, aromatic note.
- Red food coloring: Creates that iconic vibrant red hue that makes red velvet so special.
- Cocoa powder: Adds subtle chocolate depth without masking the velvet’s tangy charm.
- All-purpose flour: The backbone of the brownies, providing just the right density.
- Salt: Balances sweetness and intensifies all other flavors.
- Cream cheese (softened): The star of the cheesecake layer, creating a rich, dreamy swirl.
- Extra granulated sugar: Sweetens the cheesecake layer perfectly without graininess.
How to Make Red Velvet Cheesecake Brownies Recipe
Step 1: Prepare the Red Velvet Brownie Batter
Start by melting the unsalted butter and mixing it with the granulated sugar until the mixture looks shiny and smooth. Next, beat in the eggs one at a time, then add the vanilla extract to bring out subtle warmth. Stir in the red food coloring and cocoa powder until everything is well blended and brilliantly red. Finally, sift in the flour and salt, folding gently to combine without overmixing, ensuring your brownies remain tender and moist.
Step 2: Make the Cheesecake Layer
In a separate bowl, combine softened cream cheese with sugar, an egg, and vanilla extract. Beat these ingredients until the mixture is silky and smooth with no lumps—this creamy base is what will offer the luscious, tangy contrast to the dense brownie layer.
Step 3: Assemble the Layers
Pour half of the red velvet brownie batter into your prepared baking pan, spreading it evenly. Spoon the cheesecake mixture over the top in dollops, then gently spread it out without completely covering the surface, leaving room to swirl. Dollop the remaining brownie batter on top and use a knife or skewer to create beautiful swirls, combining both batters with artistic flourish.
Step 4: Bake and Cool
Bake your masterpiece in a preheated oven at 350°F (175°C) for about 30 to 35 minutes, or until a toothpick inserted near the center comes out mostly clean with just a few moist crumbs. Let the brownies cool completely so the cheesecake layer can set perfectly—this step is crucial to getting clean, beautiful slices.
How to Serve Red Velvet Cheesecake Brownies Recipe
Garnishes
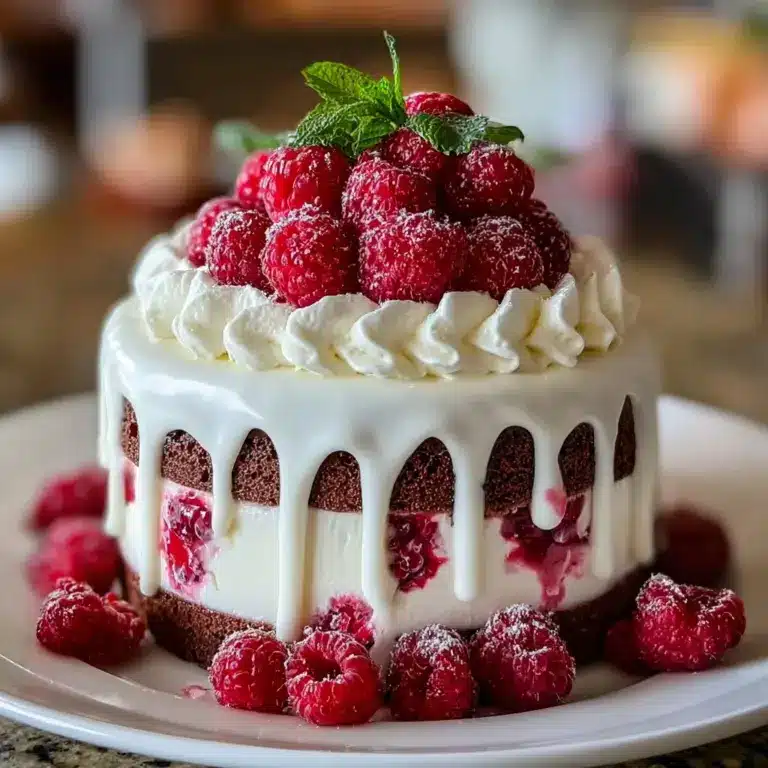
A light dusting of powdered sugar or a drizzle of white chocolate sauce can add an elegant flair. Fresh raspberries or a sprig of mint provide a perfect pop of color and freshness, complementing the rich, velvety texture of the brownies beautifully.
Side Dishes
Pair these brownies with a scoop of vanilla bean ice cream for a classic combo or serve alongside a simple mixed berry salad to balance indulgence with a hint of tartness. A dollop of whipped cream also makes for an easy and delightful addition.
Creative Ways to Present
Go beyond traditional squares by cutting the brownies into triangles or heart shapes for special gatherings. Consider stacking smaller brownie bites on skewers for a fun party treat, or layering them in dessert glasses with whipped cream and fresh fruit for an eye-catching parfait.
Make Ahead and Storage
Storing Leftovers
Leftover Red Velvet Cheesecake Brownies can be stored in an airtight container at room temperature for up to 3 days, or refrigerated to keep the cheesecake layer extra fresh for up to a week. Just remember to let refrigerated brownies come to room temperature before serving for the best flavor and texture.
Freezing
To freeze, wrap individual brownie pieces tightly in plastic wrap, then seal them in a freezer-safe bag or container. They can stay fresh in the freezer for up to 3 months. Thaw overnight in the fridge or for a few hours at room temperature before enjoying.
Reheating
Warm up brownies in the microwave for 15 to 20 seconds or briefly in a low oven to refresh their soft texture and bring out that irresistible gooeyness. Avoid overheating to keep the cheesecake layer from drying out.
FAQs
Can I use store-bought red velvet brownie mix instead?
Absolutely! Using a high-quality red velvet brownie mix can save time and still yield delicious results. Just be sure to combine it with the cream cheese layer as instructed to keep the unique blend of flavors that makes this Red Velvet Cheesecake Brownies Recipe so special.
What if I don’t have red food coloring?
While red food coloring gives the brownies their signature color, you can substitute with natural options like beet juice or powder. Just keep in mind the color may be less vibrant, but the taste will still be delightful.
How do I prevent the cheesecake layer from cracking?
Make sure your cream cheese is softened before mixing and avoid overbaking. Also, gentle swirling rather than mixing the cheesecake layer too vigorously helps prevent cracks and keeps that beautiful marbled effect.
Can I make these brownies gluten-free?
Yes! Simply swap the all-purpose flour for your favorite gluten-free flour blend that measures cup-for-cup. This adjustment keeps the same texture and flavor, perfect for those with gluten sensitivities.
How do I cut the brownies cleanly?
Use a sharp knife and wipe it clean between cuts. For extra smooth slicing, chill the brownies well before cutting. This technique is especially helpful for getting neat edges without dragging the cheesecake layer.
Final Thoughts
I can’t recommend enough how wonderfully this Red Velvet Cheesecake Brownies Recipe brings excitement and indulgence to any dessert table. Whether for celebrations or simply a sweet pick-me-up, these brownies never fail to impress. Give the recipe a try soon, and I promise you’ll have a new favorite to share with everyone you love.
PrintRed Velvet Cheesecake Brownies Recipe

Decadent Red Velvet Cheesecake Brownies combine the rich, chocolaty flavor of red velvet brownies with a creamy, tangy cheesecake layer. This dessert is perfect for special occasions or whenever you want a luscious treat that blends two classic flavors in one bite.
- Prep Time: 15 minutes
- Cook Time: 35-40 minutes
- Total Time: 55 minutes
- Yield: 16 brownies 1x
- Category: Dessert
- Method: Baking
- Cuisine: American
- Diet: Vegetarian
Ingredients
Red Velvet Brownies:
- 1/2 cup unsalted butter, melted
- 1 cup granulated sugar
- 2 large eggs
- 1 teaspoon vanilla extract
- 1 tablespoon red food coloring
- 1 tablespoon cocoa powder
- 3/4 cup all-purpose flour
- 1/4 teaspoon salt
Cheesecake Layer:
- 8 oz cream cheese, softened
- 1/4 cup granulated sugar
- 1 large egg
- 1/2 teaspoon vanilla extract
Instructions
- Prepare Brownie Batter: In a large bowl, whisk together the melted butter and granulated sugar until smooth. Add the eggs one at a time, mixing well after each addition, then stir in the vanilla extract and red food coloring. In a separate bowl, sift together the cocoa powder, flour, and salt. Gradually fold the dry ingredients into the wet mixture until just combined.
- Create Cheesecake Layer: In a medium bowl, beat the softened cream cheese with granulated sugar until creamy and smooth. Add the egg and vanilla extract, then continue to beat until fully incorporated and the mixture is silky.
- Layer the Batter: Pour half of the red velvet brownie batter into a greased 8×8 inch baking pan and spread evenly. Carefully spoon the cheesecake mixture over the brownie layer and smooth it out. Top with the remaining brownie batter and gently spread it over the cheesecake layer, being careful not to mix layers.
- Bake: Preheat your oven to 325°F (163°C). Bake the layered batter for 35-40 minutes, or until the edges are set and a toothpick inserted into the center comes out with a few moist crumbs but no raw batter. Avoid overbaking to keep the cheesecake creamy.
- Cool and Serve: Allow the brownies to cool completely in the pan on a wire rack before slicing into squares. Refrigerate if possible for at least 1 hour to set the cheesecake layer for cleaner cuts. Serve chilled or at room temperature.
Notes
- Use room temperature eggs and cream cheese for smooth blending.
- Do not overmix the brownie batter to keep them tender.
- For a more intense red color, increase food coloring slightly if desired.
- Store brownies in an airtight container in the refrigerator for up to 4 days.
- Bring squares to room temperature before serving for optimal flavor and texture.
Nutrition
- Serving Size: 1 brownie (approx. 2 inch square)
- Calories: 280 kcal
- Sugar: 22 g
- Sodium: 150 mg
- Fat: 18 g
- Saturated Fat: 10 g
- Unsaturated Fat: 6 g
- Trans Fat: 0.2 g
- Carbohydrates: 28 g
- Fiber: 1 g
- Protein: 4 g
- Cholesterol: 65 mg
Keywords: Red velvet cheesecake brownies, red velvet brownies, cheesecake brownies, dessert recipe, chocolate cheesecake brownies, layered brownies